


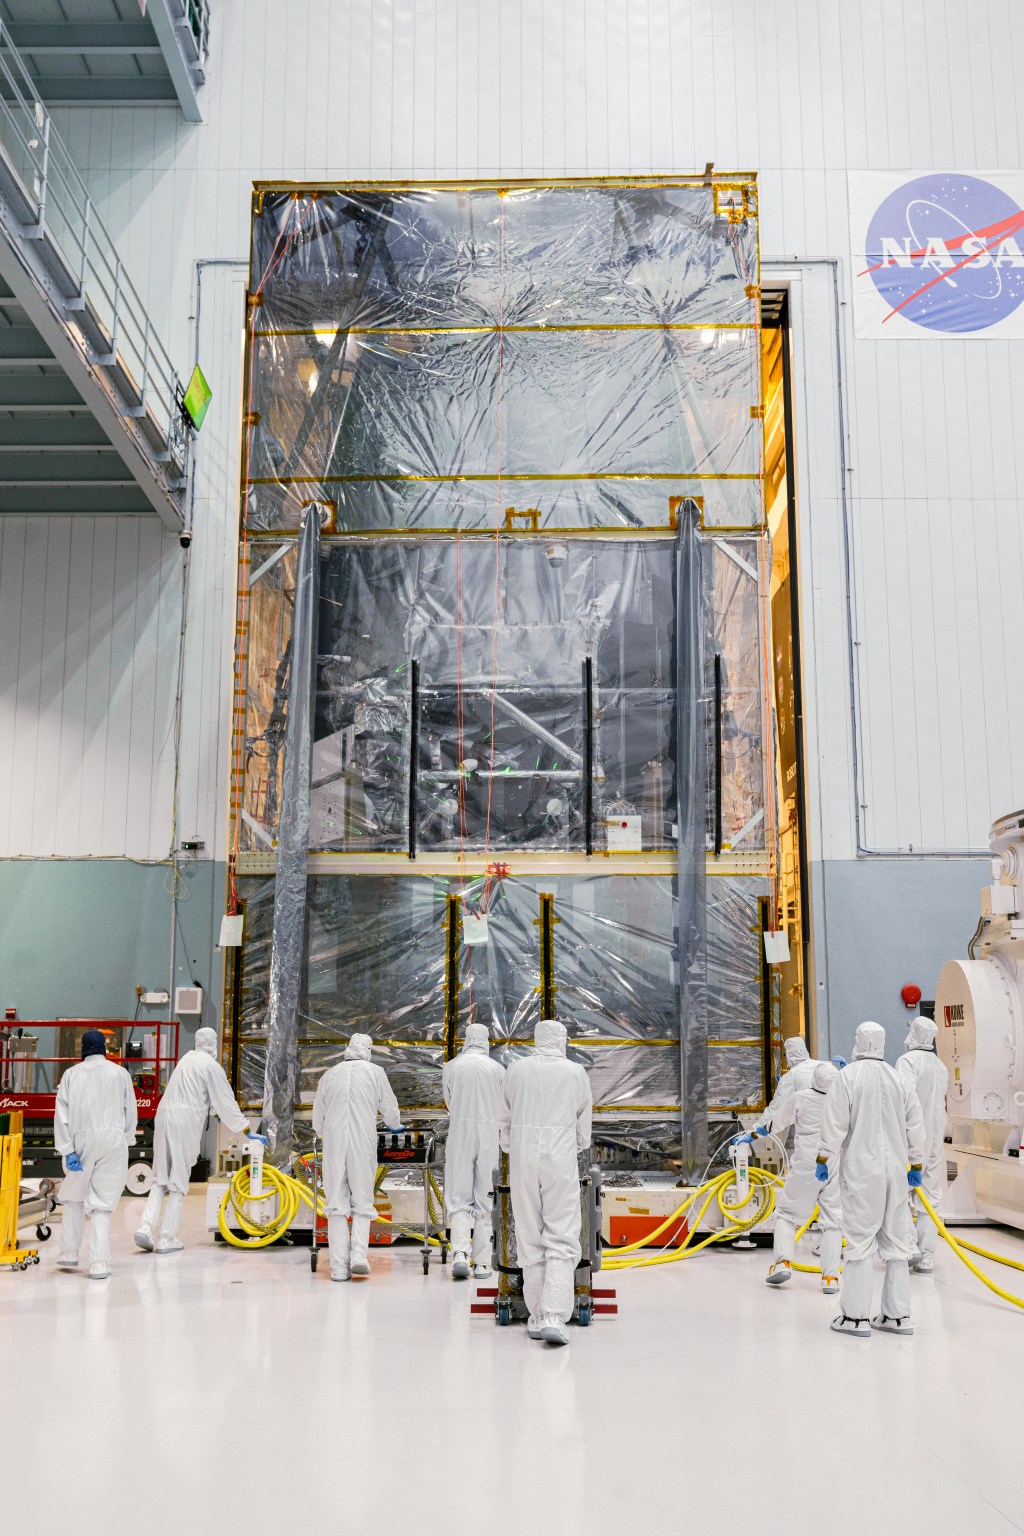


In honor of the completion of our Nancy Grace Roman Space Telescope’s spacecraft — the vehicle that will maneuver the observatory to its place in space and enable it to function once there — we’re bringing you some space crafts you can complete at home!
Join us for a journey across the cosmos, starting right in your own pantry.

Stardust Slime
Did you know that most of your household ingredients are made of stardust? And so are you! Nearly every naturally occurring element was forged by living or dying stars.
Take the baking soda in this slime recipe, for example. It’s made up of sodium, hydrogen, carbon, and oxygen. The hydrogen was made during the big bang, right at the start of the universe. But the other three elements were created by dying stars. So when you show your friends your space-y slime, you can tell them it’s literally made of stardust!
Instructions:
- 1 5 oz. bottle clear glue
- ½ tablespoon baking soda
- food coloring
- 1 tablespoon contact lens solution
- 1 tablespoon glitter
Directions:
Pour the glue into a bowl
Mix in the baking soda
Add food coloring (we recommend blue, purple, black, or a combination).
Add contact lens solution and use your hands to work it through the slime. It will initially be very sticky! You can add a little extra contact lens solution to make it firmer and less goopy.
Add glitter a teaspoon at a time, using as much or as little as you like!

Space Suckers
Now let’s travel a little farther, past Earth’s atmosphere and into the realm of space. That’s where Roman is headed once the whole observatory is complete and passes all of its testing!
Roman will scan the skies from space to make it extra sensitive to faint infrared light. It’s harder to see from the ground because our atmosphere scatters and absorbs infrared radiation, which obscures observations.
Some astronauts have reported that space smells metallic or like gunpowder, but don’t worry — you can choose a more pleasant flavor for your space suckers!
Ingredients
- 2 cups sugar
- 2/3 cup light corn syrup
- 2/3 cup water
- gel food coloring
- flavor oil
- edible glitter dust
- sucker sticks
- sucker mold
Directions
Prep the molds by adding sucker sticks.
Mix sugar, light corn syrup, and water together in a pot on the stove over medium heat.
Turn it up to medium-high heat and let it boil without stirring for about 6 minutes.
Quickly stir in the flavor oil of your choice, gel food coloring, plus as much edible glitter as you like (reserve some for dusting).
Carefully but quickly spoon the mixture into the molds. Spin the sticks so they're evenly coated. Add a sprinkle of reserved edible glitter and allow to harden.” An image on the left side of the card shows the result: a deep purple sucker with silver glitter embedded.

Fizzy Planets
As we move toward our outer solar system, we’ll pass the orbits of the gas giant planets Jupiter and Saturn. While they don’t actually fizz like the mini planets you can make at home, they do have some pretty exotic chemistry that stems from their extreme pressures, temperatures, and compositions. For example, the hydrogen in their cores behaves like liquid metal instead of a gas. It even conducts electricity!
Roman will use multiple planet-spotting techniques –– microlensing, transits, and direct imaging –– to help us study a variety of worlds, including both gas giants and rocky worlds similar to our own.
Ingredients
- 3 cups baking soda
- ¾ cup water
- food coloring
- ¼ cup vinegar
Directions
Mix a few drops of food coloring into ¼ cup of water and pour into a bowl with 1 cup of baking soda.
Repeat step one two more times using different colors.
Scoop together bits from each mixture to form small balls. Add an extra splash of water to any mixture that's too crumbly.
Douse the balls with vinegar using an eye dropper or teaspoon and watch them fizz!

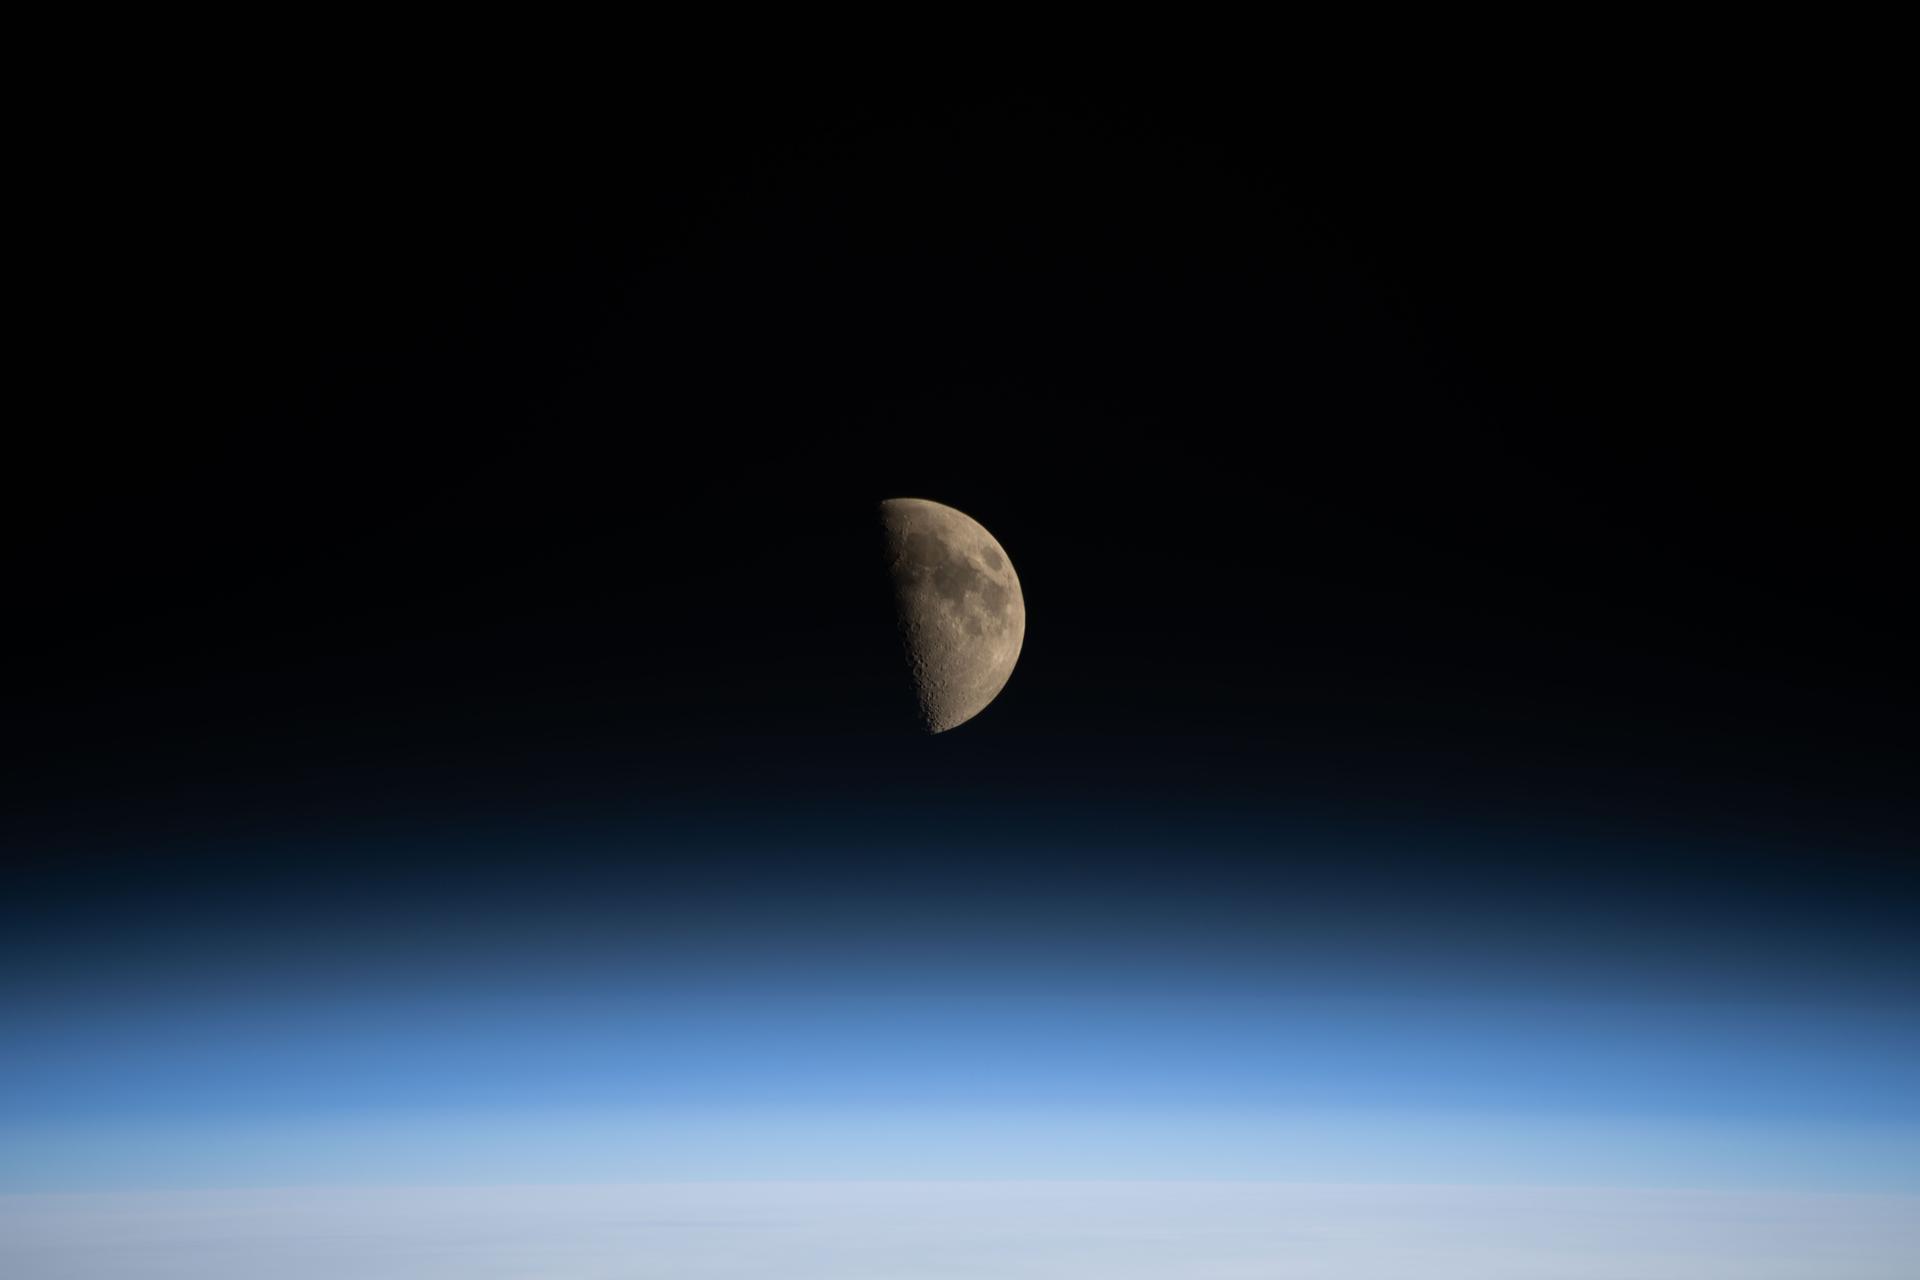
Marshmallow Constellations
As we venture farther out into space, we’ll reach some familiar stars! Constellations are groups of stars that appear close together in the sky as seen from Earth. But if you actually journeyed out to them, you might be surprised to discover that they’re often super far apart from each other!
Though constellations aren’t made of stars that are actually bound together in any way, they can still be useful for referencing a cosmic object’s location in the sky. For example, you can use a pair of binoculars or a telescope to take a look at the nebula found beneath Orion’s Belt, marked by the glitter patch in the recipe card above! You can find the constellation printables here.
Supplies
- toothpicks or mini pretzel sticks
- mini marshmallows
- constellation printables
- scissors
Directions
Attach marshmallows to toothpicks or pretzel sticks using the constellation cards as a guide. Carefully trim toothpicks or pretzel sticks as needed using scissors.

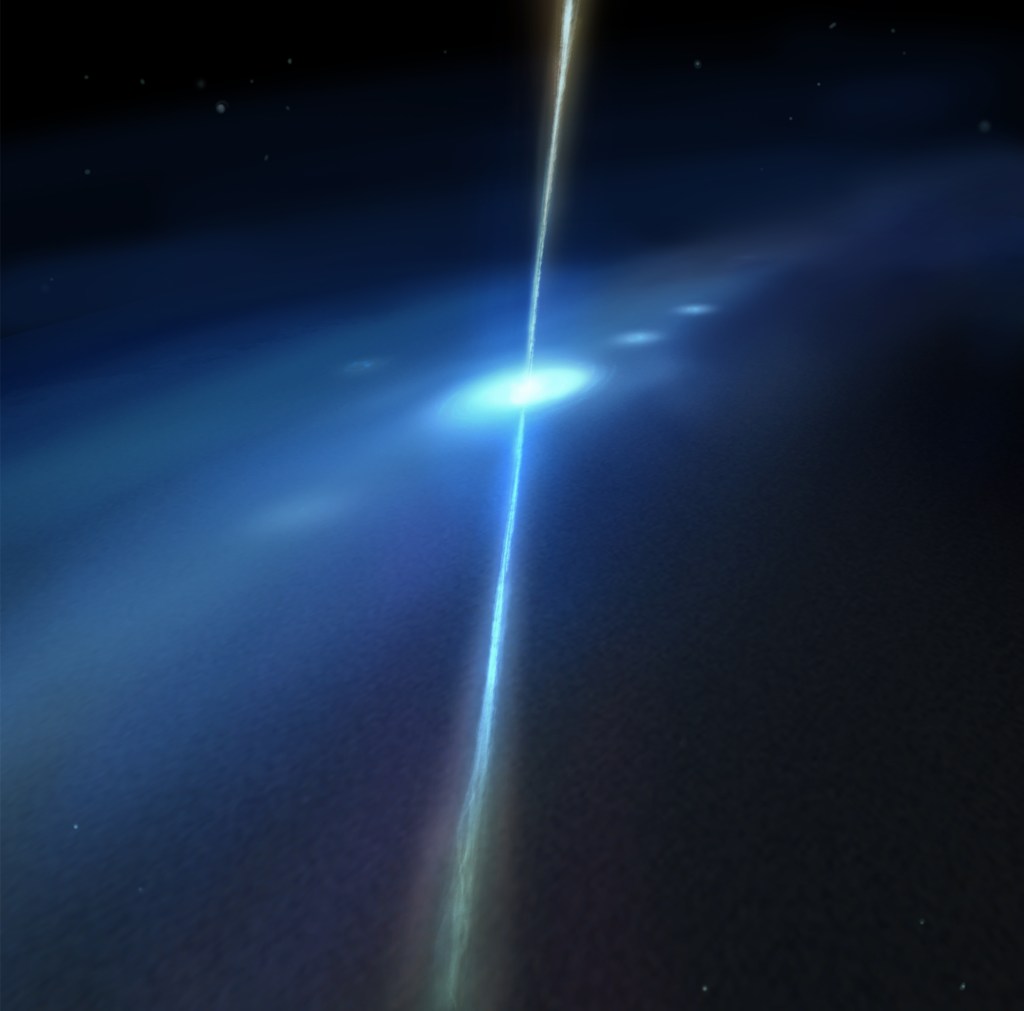
Black Hole Bath Bombs
Black holes –– objects with such strong gravity that not even light can escape their clutches –– lurk unseen throughout our galaxy. Stray too close to one and you’re in for a wild ride! But they aren’t cosmic vacuum cleaners, despite what you may have grown to believe. Just keep your distance and they’ll affect you the same way as any other object of the same mass.
Astronomers have found dozens of black holes in our galaxy by seeing how their gravity affects nearby objects. But there may be 100 million more that lack a visible companion to signal their presence. Roman will find some of these solitary black holes by seeing how their gravity focuses the light from farther stars.
Ingredients
- 1 cup baking soda
- ½ cup citric acid
- ½ cup cornstarch
- 2 tablespoons coconut oil
- black food coloring
- optional: 2 teaspoons essential oil for scent
- optional: ½ cup Epsom salt
Directions
Mix the baking soda, citric acid, cornstarch, and Epsom salt (optional) together in a bowl.
In a separate bowl, mix the coconut oil, food coloring, and essential oil (optional).
Pour the liquid mixture into the dry mixture slowly while whisking it all together. Add a couple tiny splashes of water and whisk it in quickly.
Tightly press the mixture into round molds. Leave them for a few hours and then they'll be ready to use!

Galaxy in a Jar
Now let’s go so far we can see our Milky Way galaxy from the outside — something many astronomers probably wish they could do at times!
Sort of like how Earth’s atmosphere can affect our view of space, dust in our galaxy can get in the way, too. That makes it easier to study other galaxies than our own in some ways! Roman’s combination of a large field of view, crisp resolution, and the ability to peer through dust make it the ideal instrument to study the Milky Way. The mission will build on previous observations to generate the most detailed map of our galaxy to date.
Ingredients
- hot water
- glitter glue
- glitter
- super glue (optional)
Directions
Mostly fill a 16 oz. glass jar with very hot water, leaving a couple inches of space at the top.
Add at least ¼ cup of glitter glue in colors of your choosing.
Add loose glitter a couple of teaspoons at a time, using as much or as little as you like! You can use a combination of fine and chunky glitter for an extended swirling effect.
Optional: Super glue the lid to the jar.
Once the water has sufficiently cooled, give the jar a gentle shake to see your galaxy swirl!
NOTE: Closely monitor children to ensure the jar doesn't break.

Pinwheel Galaxy Pinwheels
As we continue our cosmic excursion, you’ll see other galaxies sprinkled throughout space. Many are spiral galaxies, like our Milky Way and the Pinwheel Galaxy from the craft described above. (You can find more detailed instructions and the printout you’ll need here.)
But galaxies come in other varieties, too. Through Roman’s wide, deep surveys, astronomers are sure to see every type. Scientists will study the shapes and distances of billions of galaxies to help us understand dark energy — a mysterious pressure that’s speeding up the universe’s expansion.
Supplies
- Pinwheel Galaxy printout
- pipe cleaner or chopsticks
- scissors
- popsicle stick
- single hole puncher
Directions
Cut out the hexagonal shape for your galaxy pinwheel.
Make cuts down the white lines.
Punch holes in the white dots: six around the edges and one in the center.
Turn the paper so it’s face-down.
Thread a pipe cleaner through the center hole.
Going around the circle, fold each flap so the pipe cleaner goes through the hole.
Tie a knot in the pipe cleaner to secure the front of the pinwheel. Wrap the other side of the pipe cleaner around a popsicle stick.

Universe Dough
We’re nearing the end of our voyage, having traveled so far through space and time that we can take in the whole universe! We’ve learned a lot about it, but there are still plenty of open questions. Some of its biggest components, dark energy and dark matter (invisible matter seen only via its gravitational influence), are huge mysteries Roman will explore. And since the observatory will reveal such large, deep swaths of space, who knows what new puzzles we’ll soon uncover!
- Ingredients
- 1 cup flour
- ½ cup salt
- 1 tablespoon vegetable oil
- ½ cup hot water
- food coloring
- glitter
Directions
Mix flour and salt in a bowl.
Add several drops of food coloring to hot water, and stir into dry mixture along with the oil.
Add as much glitter as you like and knead it into the dough for several minutes.
Add water or flour as needed to adjust the consistency.
Still feeling crafty? Try your hand at these 3D and paper spacecraft models. If you’re eager for a more advanced space craft, check out these embroidery creations for inspiration! Or if you’re ready for a break, take a virtual tour of an interactive version of the Roman Space Telescope here.