By Lyle Tavernier
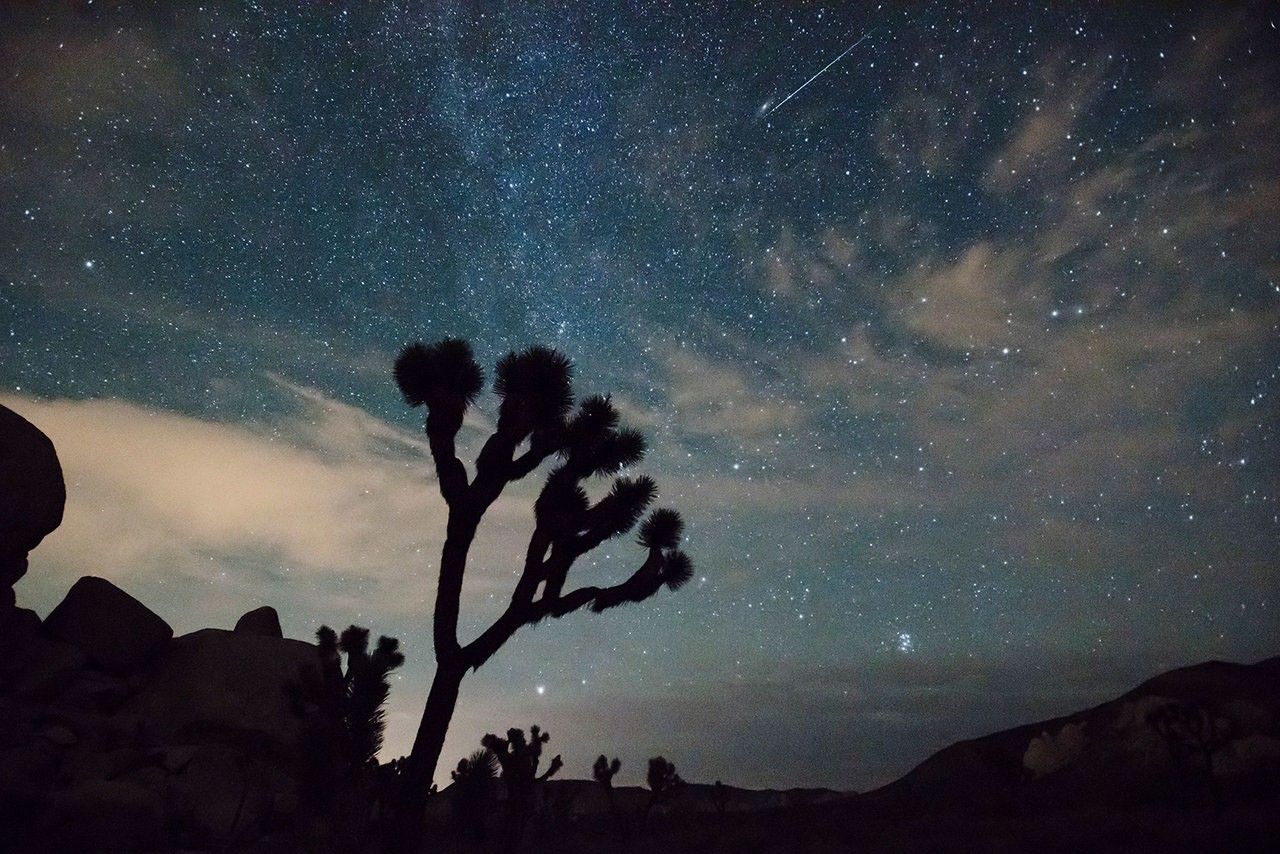
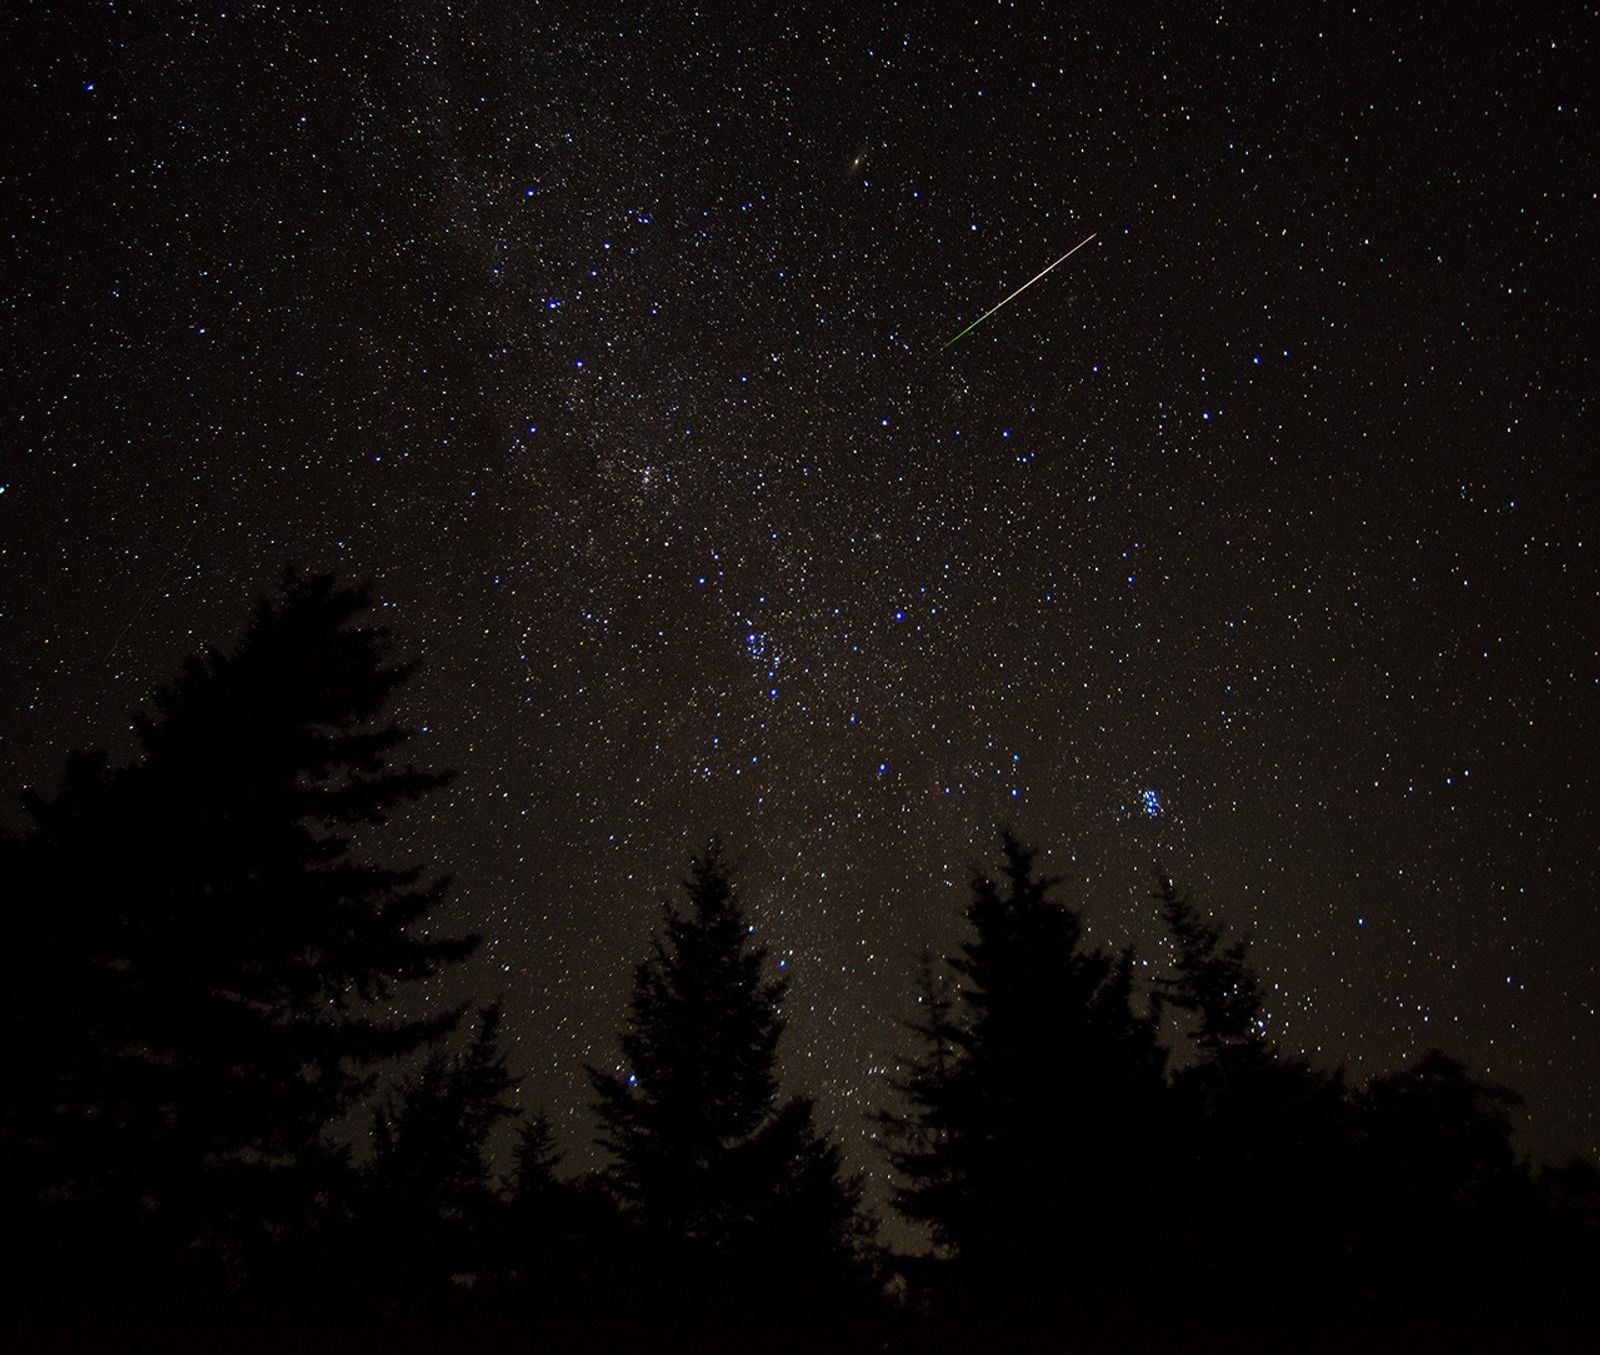
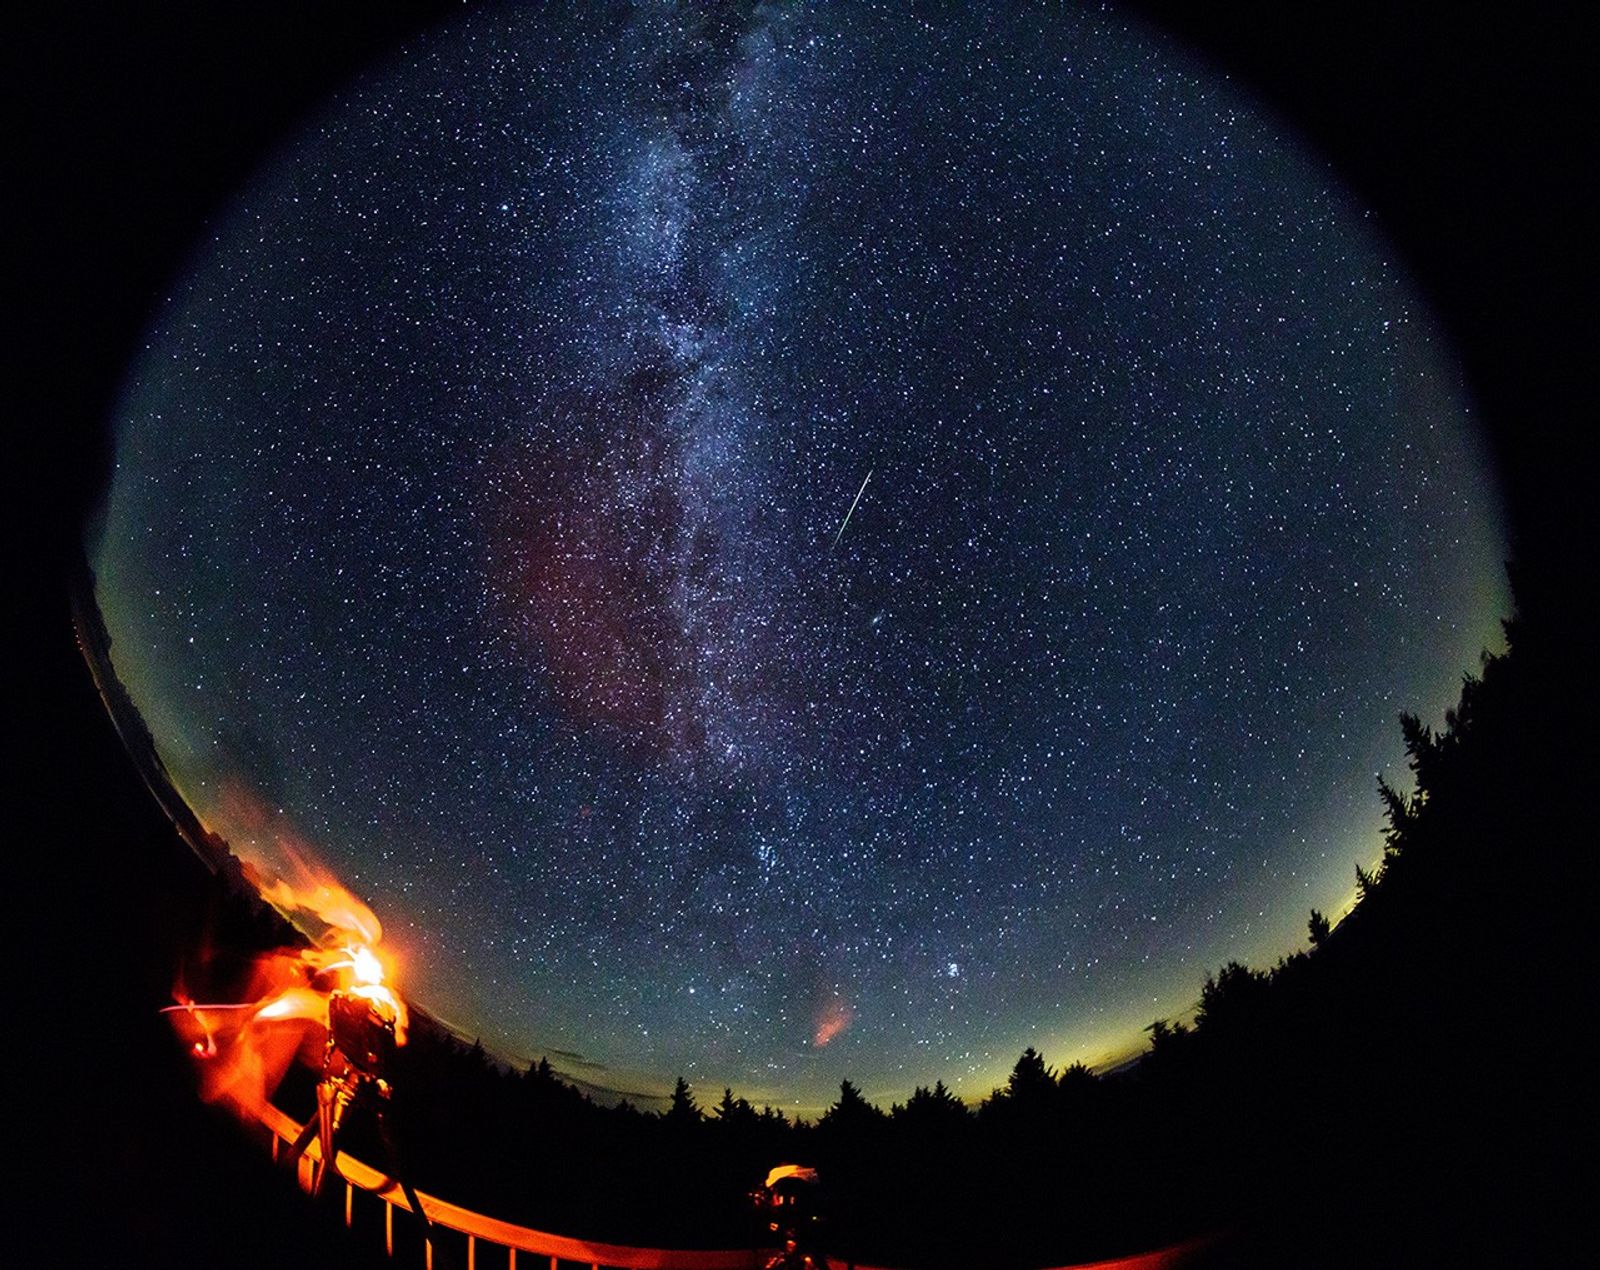
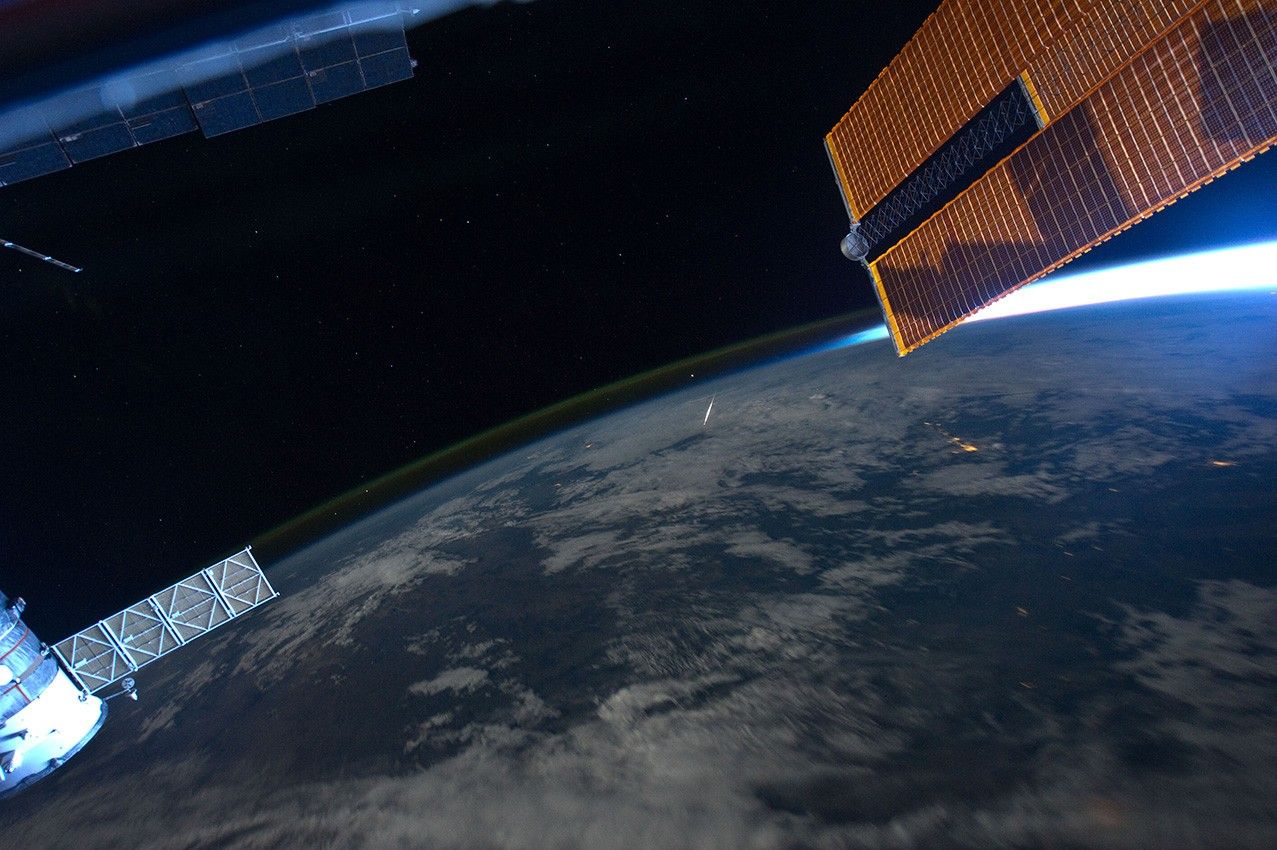
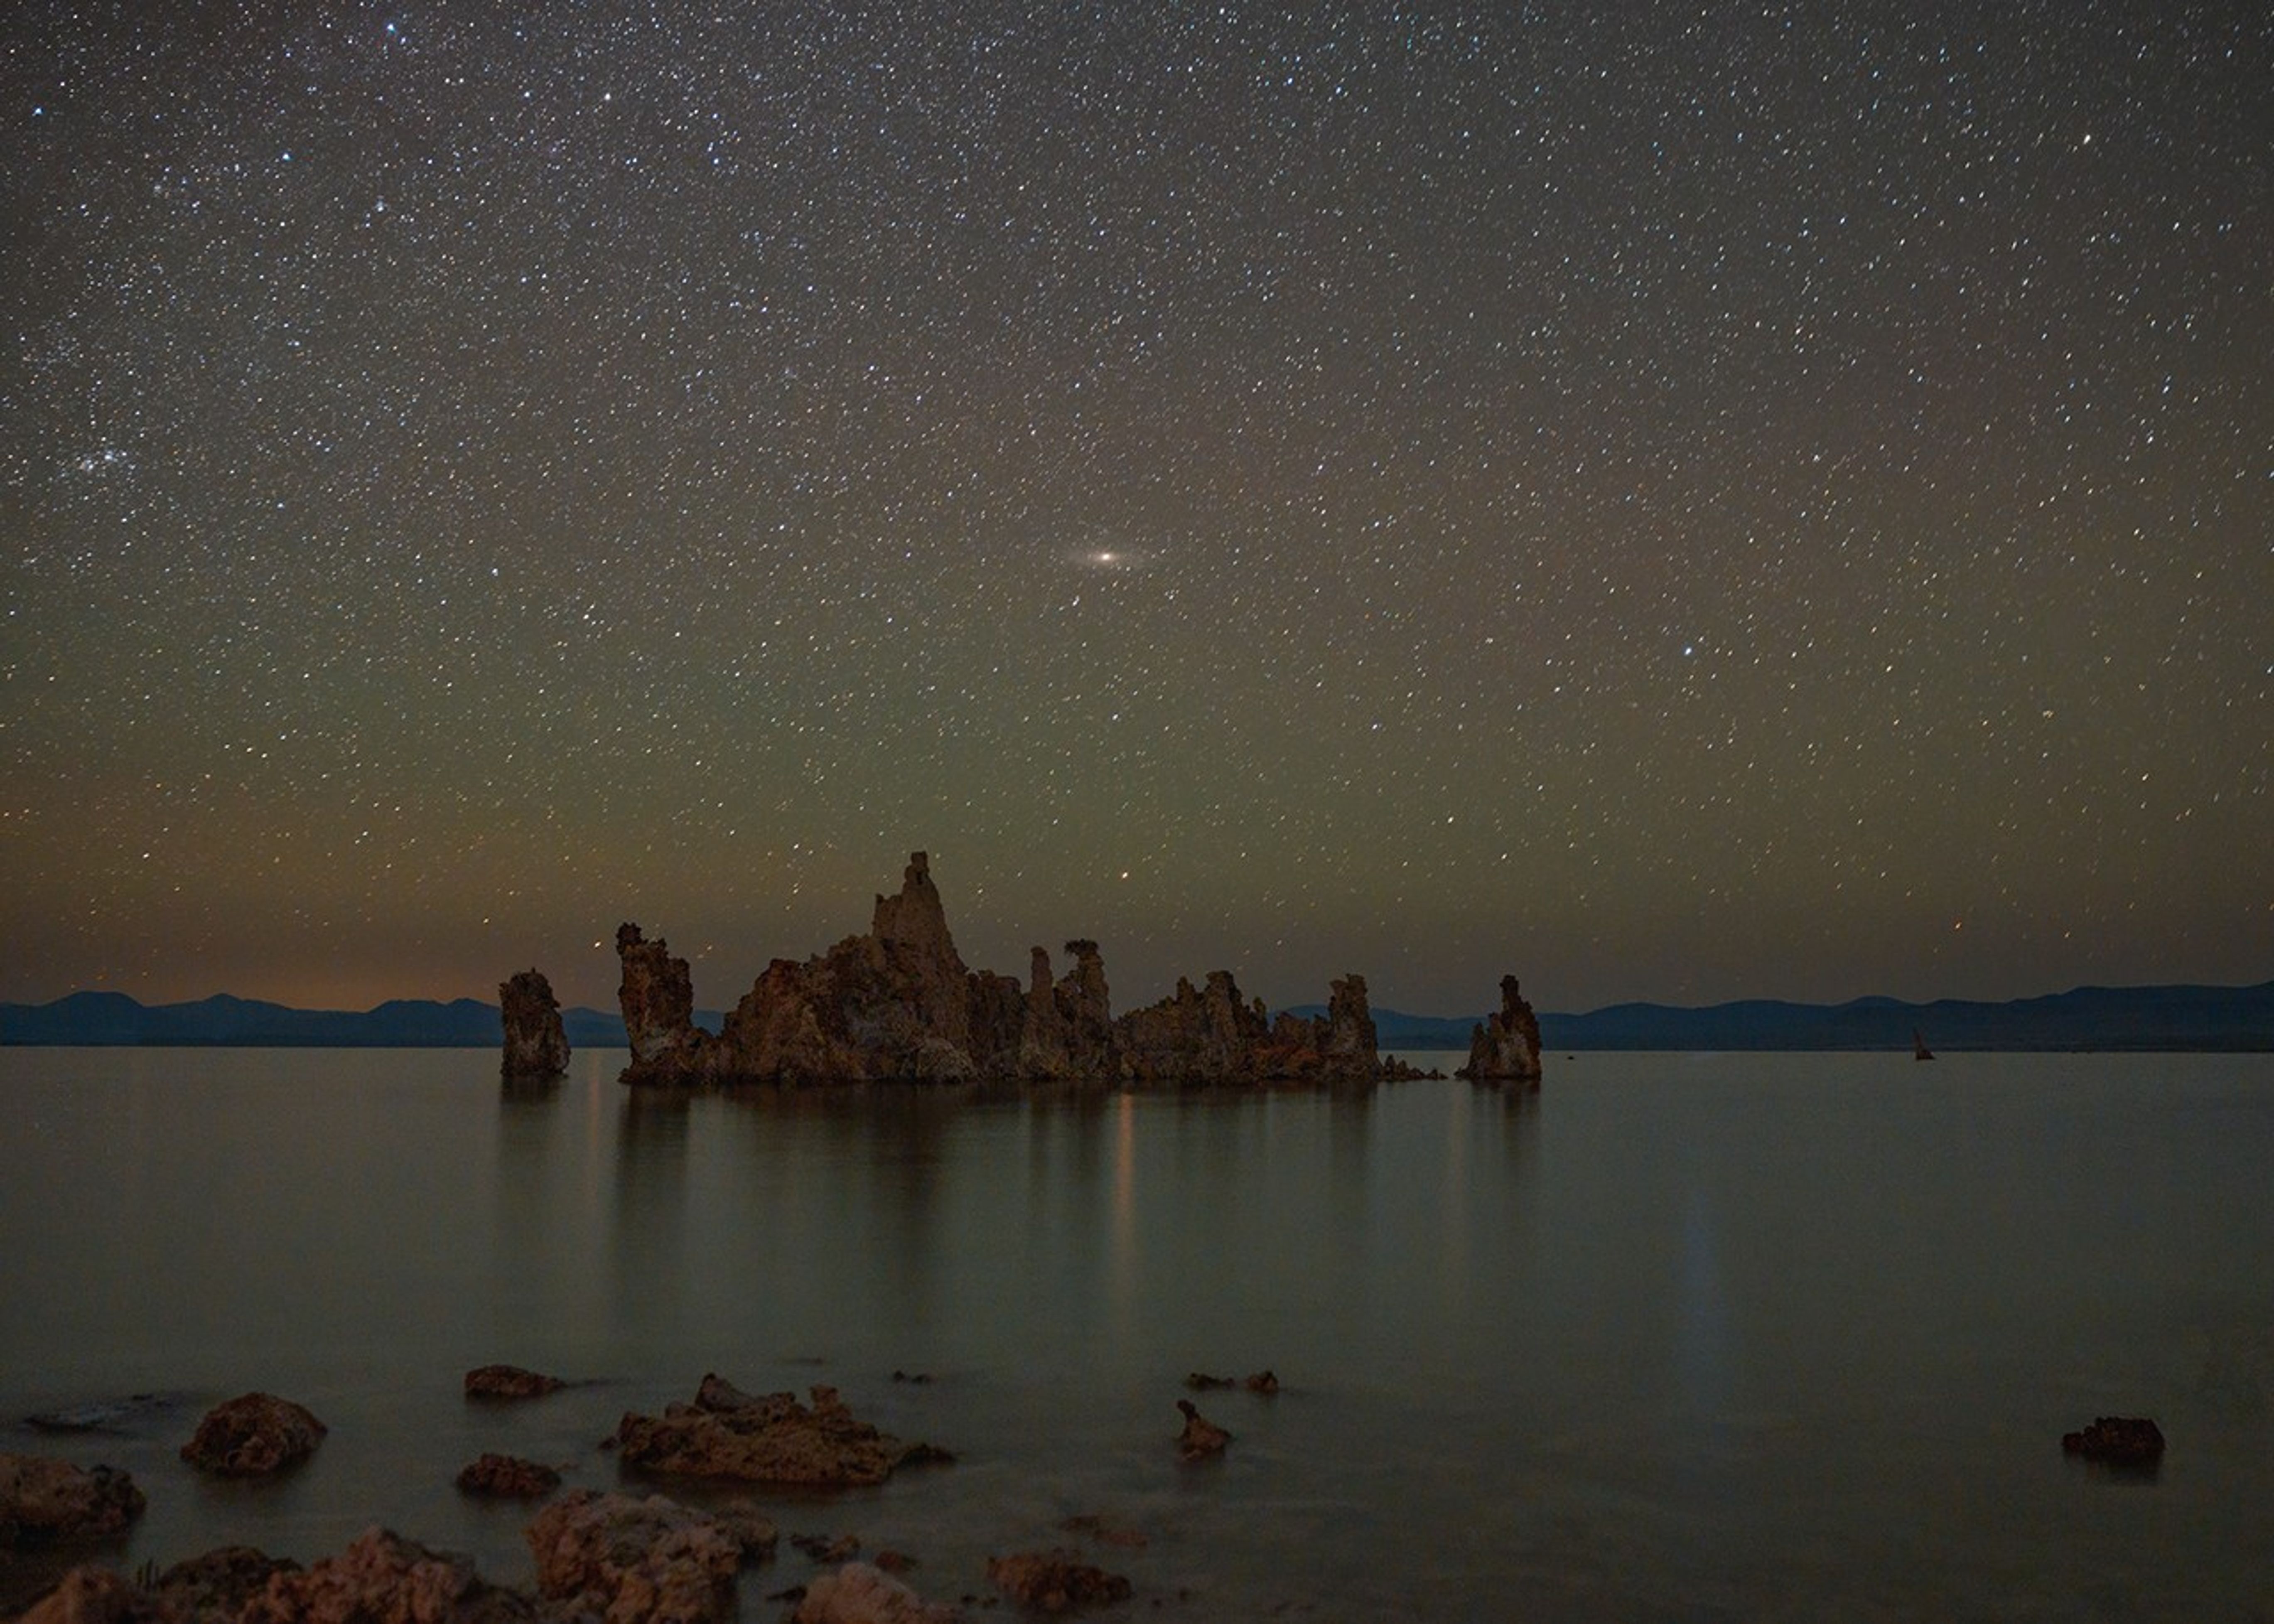
Taking photographs of a meteor shower can be an exercise in patience as meteors streak across the sky quickly and unannounced, but with these tips – and some good fortune – you might be rewarded with a great photo.
These tips are meant for a DSLR or mirrorless camera, but some point-and-shoot cameras with manual controls could be used as well.
1. Choose Your Photo Op
Several meteors per hour can usually be seen on any given night. When there are lots more meteors, you’re watching a meteor shower. Some meteor showers occur annually or at regular intervals as the Earth passes through the trail of dusty debris left by a comet (and, in a few cases, asteroids). Meteor showers are usually named after a star or constellation that is close to where the meteors appear to originate in the sky. Be sure to check the weather and Moon phase before going out. Clouds or a bright Moon can diminish even the best meteor shower.
Here are few of the year's most significant meteor showers:
| Major Meteor Streams | 2019 Peak Night (may vary by +/- 1 day) | Rate Per Hour** | Parent Body (Asteroid or Comet) |
|---|---|---|---|
| Quadrantids | January 3-4 | 110 | (196256) 2003 EH1 |
| Lyrids | April 21-22 | 18 | Comet C/1861 G1 |
| Eta Aquariids | May 5-6 | 50 | Comet 1P/Halley |
| Southern Delta Aquariids | July 29-30 | 25 | Unknown sungrazing comet |
| Perseids | August 12-13 | 110 | Comet 109P/Swift-Tuttle |
| Orionids | October 21-22 | 20 | Comet 1P/Halley |
| Leonids | November 17-18 | 15 | Comet 55P/Tempel-Tuttle |
| Geminids | December 13-14 | 140 | (3200) Phaethon |
| Ursids | December 22-23 | 10 | Comet 8P/Tuttle |
* For observers in the northern hemisphere.
** Estimated rate per hour in under perfect conditions, based on activity in recent years
2. Get away from city lights and find a place with dark skies.
Too much light and it will be hard for your eyes to see fainter meteors, plus your image will get flooded with the glow of light. Turning down the brightness of the camera’s LCD screen will help keep your eyes adjusted to the dark. The peak of the 2018 Leonid meteor shower occurs just after the new moon, meaning the waxing gibbous Moon will have set by 3 a.m., leaving hopeful sky watchers with a moonlight-free sky!
3. Use a tripod.
Meteor photography requires long exposures, and even the steadiest of hands can’t hold a camera still enough for a clear shot. Heavier tripods help reduce shaking caused by wind and footsteps, but even a lightweight tripod will do. You can always place sandbags against the feet of the tripod to add weight and stability. If you don’t have a tripod, you might be able to prop your camera on or up against something around you, but be sure to secure your camera.
4. Use a wide-angle lens.
A wide-angle lens will capture more of the sky and give you a greater chance of capturing a meteor in your shot, while a telephoto lens captures a smaller area of the sky. The odds of a meteor streaking past that small patch are lower.
5. Use a shutter release cable or the camera’s built-in timer.
A tripod does a great job of reducing most of the shaking your camera experiences, but even the act of pressing the shutter button can blur your extended exposure. Using the self-timer gives you several seconds for any shaking from pressing the shutter button to stop before the shutter is released. A shutter release cable (without a self-timer) eliminates the need to touch the camera at all. And if your camera has wifi capabilities, you might be able to activate the shutter from a mobile device.
6. Manually focus your lens.
At night, autofocus will struggle to find something on which to focus. Setting your focus to infinity will get you close, but chances are you’ll have to take some test images and do some fine tuning. With your camera on a tripod, take a test image lasting a few seconds, then use the camera’s screen to review the image. Zoom in to a star to see how sharp your focus is. If the stars look like fuzzy blobs, make tiny adjustments to the focus and take another test image.
Repeat until you are happy with the result.
If your camera has a zoomable electronic viewfinder or live view option, you might be able to zoom to a star and focus without having to take a test image.
7. Aim your camera.
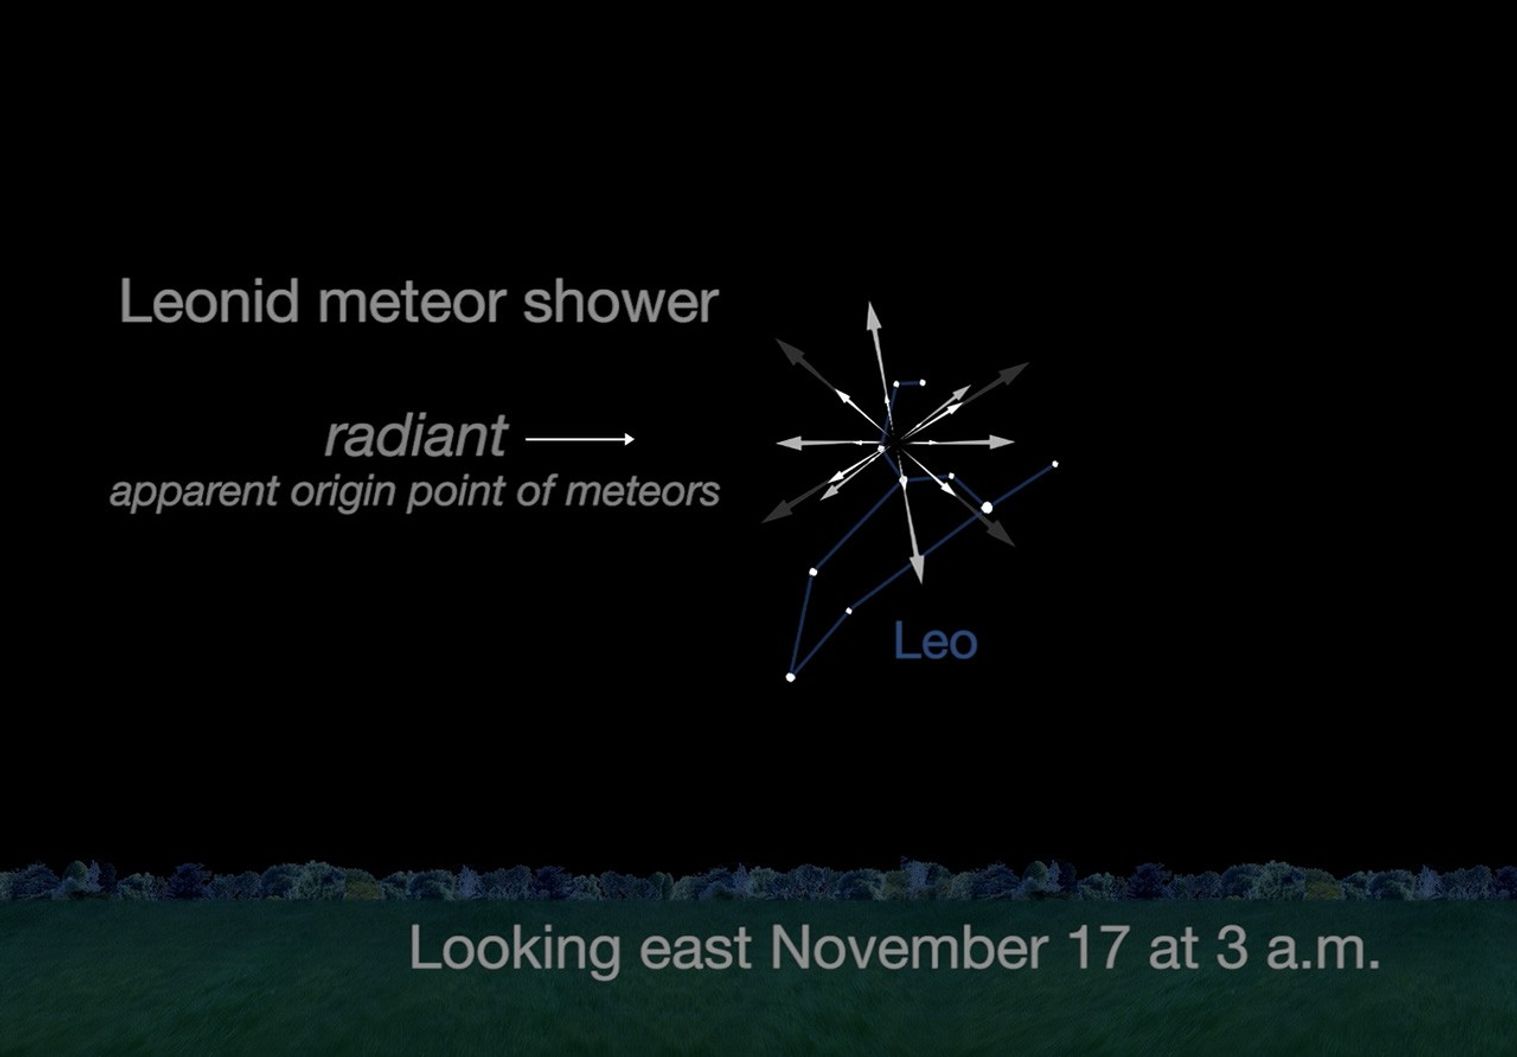
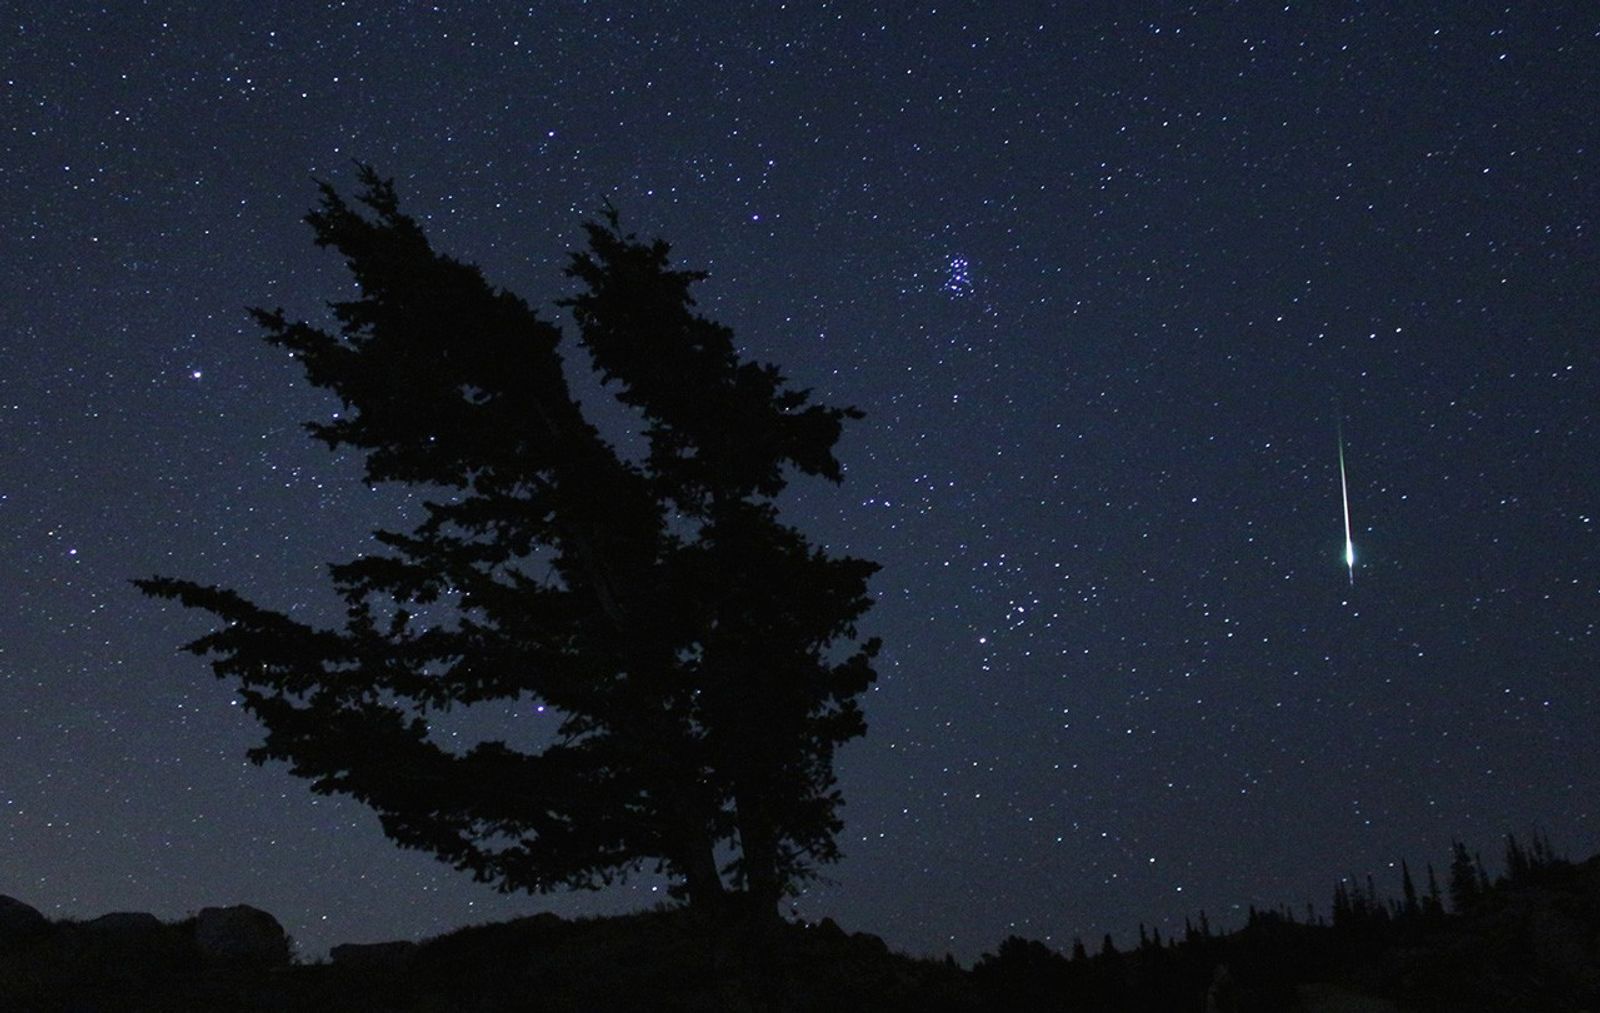
Even though we don’t know when or where a single meteor will appear, we do know the general area from which they’ll originate.
Meteor showers get their name based on the point in the sky from which they appear to radiate. In the case of the Leonids, during their peak, they appear to come from the direction of the constellation Leo in the eastern sky.
8. Calculate your exposure time.
As Earth rotates, the stars in the sky appear to move, and if your shutter is open long enough, you might capture some of that movement. If you want to avoid apparent star movement, you can follow the 500 Rule. Take 500 and divide it by the length in millimeters of your lens. The resulting number is the length of time in seconds that you can keep your shutter open before seeing star trails. For example, if you’re using a 20 mm lens, 25 seconds (500 divided by 20) is the longest you can set your exposure time before star trails start to show up in your images.
9. Experiment!
Once you know the maximum exposure time, you can set your shutter priority to that length and let the camera calculate other settings for your first image. Depending on how the image turns out, you can manually adjust aperture (set it to a lower number if the image is too dark) and ISO (set it to a higher number if the image is too dark) to improve your next images. Changing only one setting at a time will give you a better understanding of how those changes affect your image.
10. Enjoy the show.
With your camera settings adjusted, capturing that perfect photo is just a matter of time and luck. The highest rate of meteors visible per hour is in the hours after midnight and before dawn. Set up your camera next to a lounge chair or a blanket to witness the wonder of a meteor shower for yourself – and, with any luck, you’ll take home some envy-inducing shots, too!

