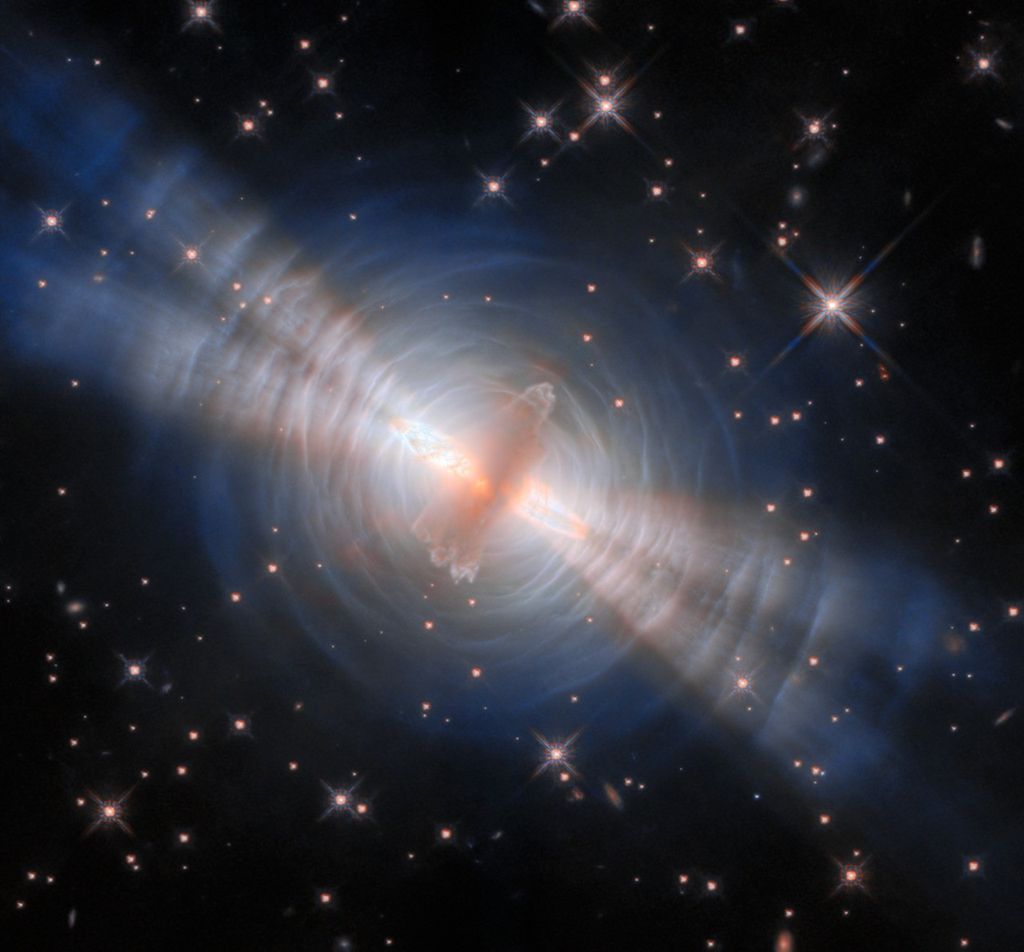
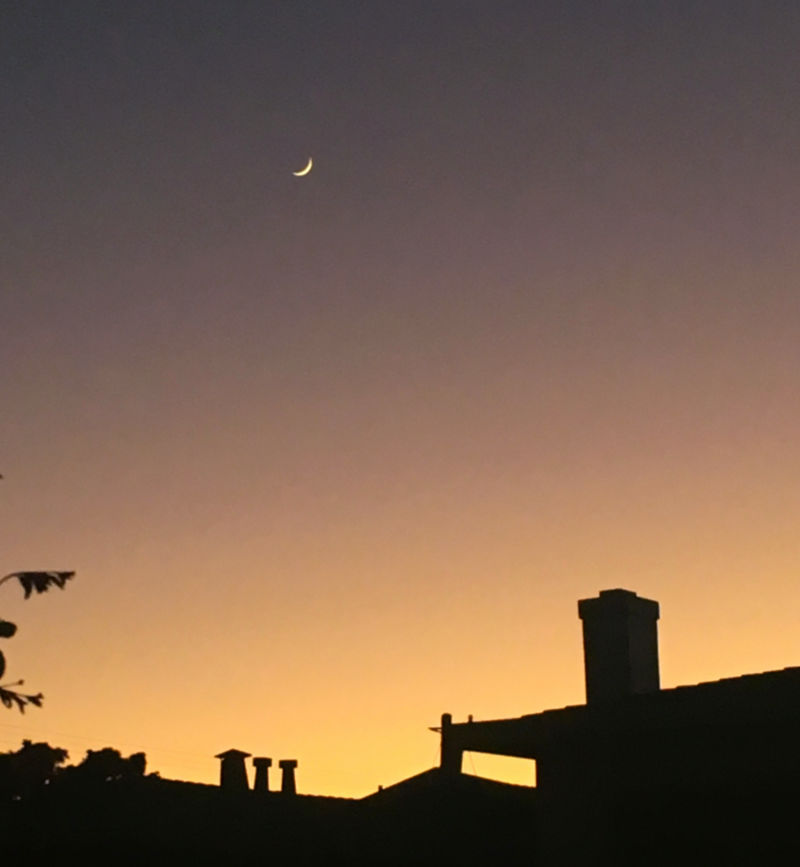
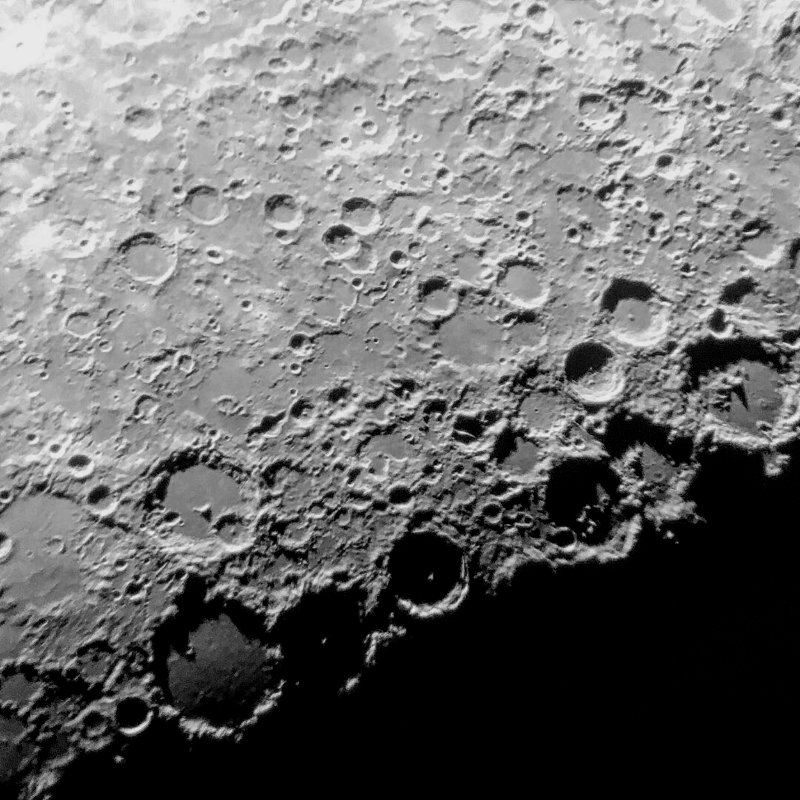
Have you ever wanted to take nighttime photos like you’ve seen online, with the Milky Way stretched across the sky, a blood-red Moon during a total eclipse, or a colorful nebula? Many astrophotos take hours, expensive equipment, and travel, which can intimidate beginners to astrophotography. However, anyone with a camera can take astrophotos; even with a smartphone, you can do astrophotography. Seriously!
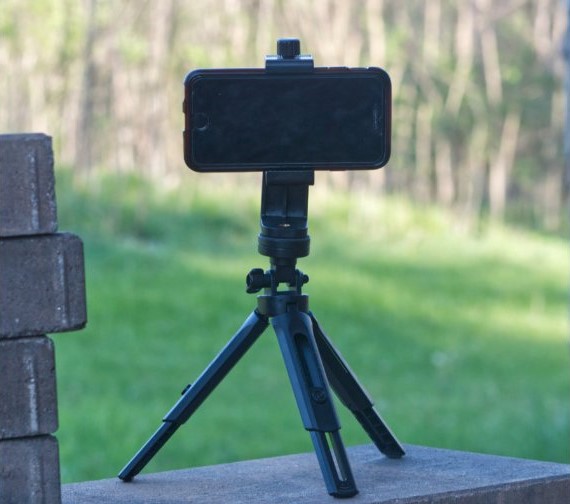
Don’t expect Hubble-level images to start! However, you can take surprisingly impressive shots by practicing several basic techniques: steadiness, locked focus, long exposure, and processing. First, steady your smartphone to keep your subjects sharp. This is especially important in low-light conditions. A small tripod is ideal, but an improvised stand, like a rock or block of wood, works in a pinch. Most camera apps offer timer options to delay taking a photo by a few seconds, which reduces the vibration of your fingers when taking a shot. Next, lock your focus. Smartphones use autofocus, which is not ideal for low-light photos, especially if the camera readjusts focus mid-session. Tap the phone’s screen to focus on a distant bright star or streetlight, then check for options to fine-tune and lock it. Adjusting your camera’s exposure time is also essential. The longer your camera opens, the lighter it gathers - essential for low-light astrophotography. Start by setting your exposure time to a few seconds. With those options set, take a test photo of your target! If your phone’s camera app doesn’t offer these options, you can download apps that do. While some phones offer an “astrophotography” setting, this is still rare as of 2021. Finally, process your photos using an app or computer program to enhance additional details! Post-processing is the secret of all astrophotography.
You now have your first astrophotos! Wondering what you can do next? Practice: take lots of photos using different settings, especially before deciding on any equipment upgrades. Luckily, there are many amazing resources for budding astrophotographers. NASA has a free eBook with extensive tips for smartphone astrophotography at bit.ly/smartastrophoto, and you can also join the Smartphone Astrophotography project at bit.ly/smartphoneastroproject. Members of astronomy clubs often offer tips or even lessons on astrophotography; you can find a club near you by searching the “Clubs and Events” map on the Night Sky Network’s website at nightsky.jpl.nasa.gov. May you have clear skies, and happy snapping!
Originally posted by Dave Prosper: May 2021
Last Updated by Kat Troche: October 2024

