


1 min read
Webb’s Star Pattern (Stencil)

Light up your world with Webb’s Star Pattern!
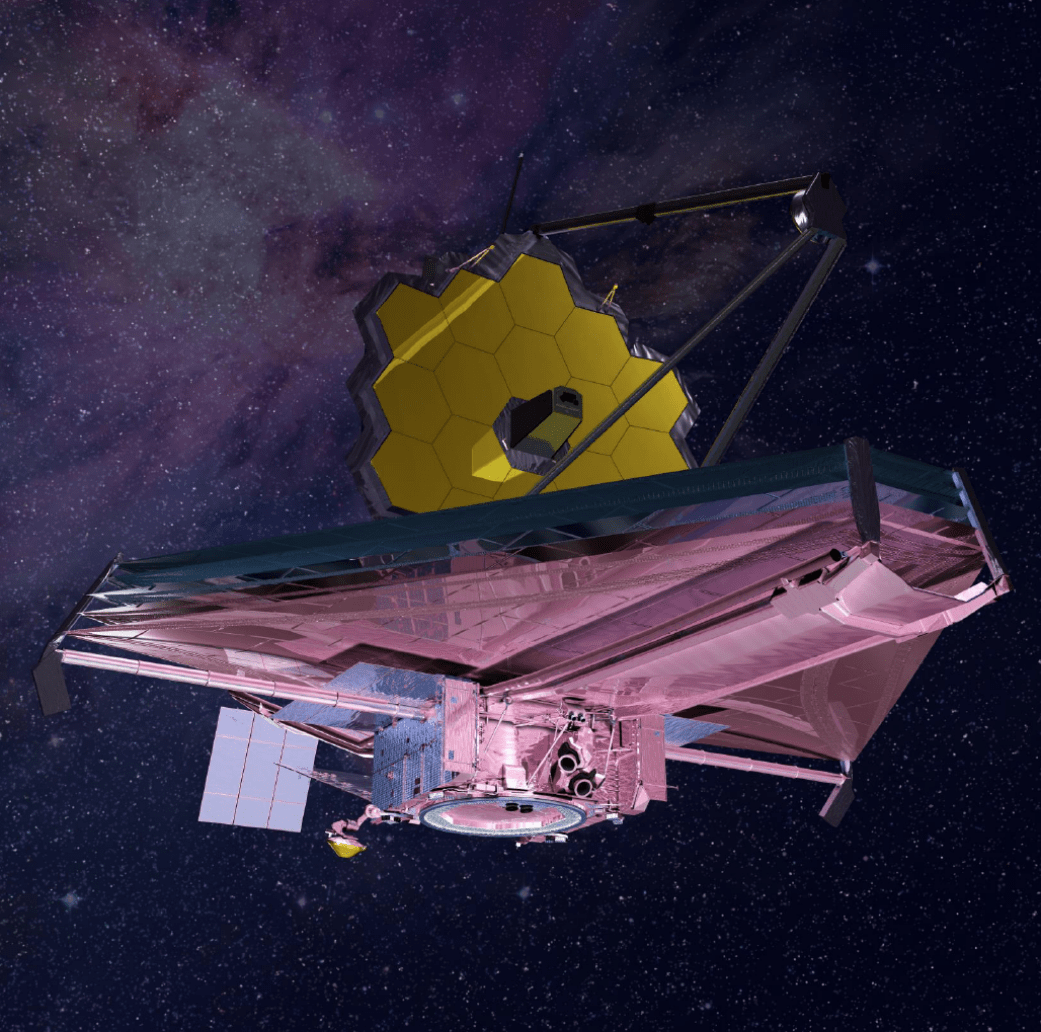
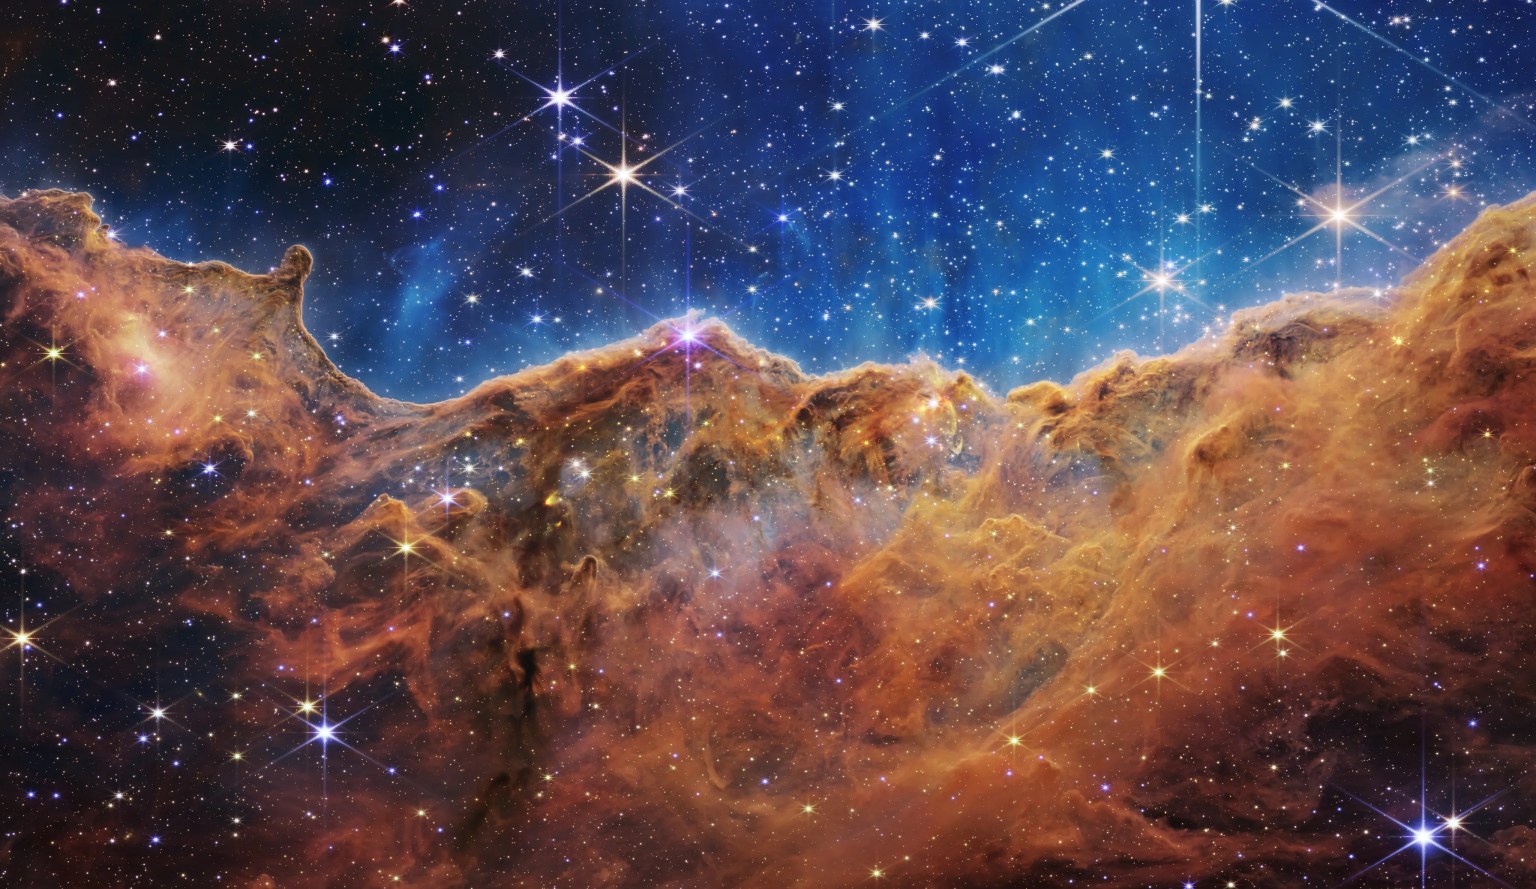
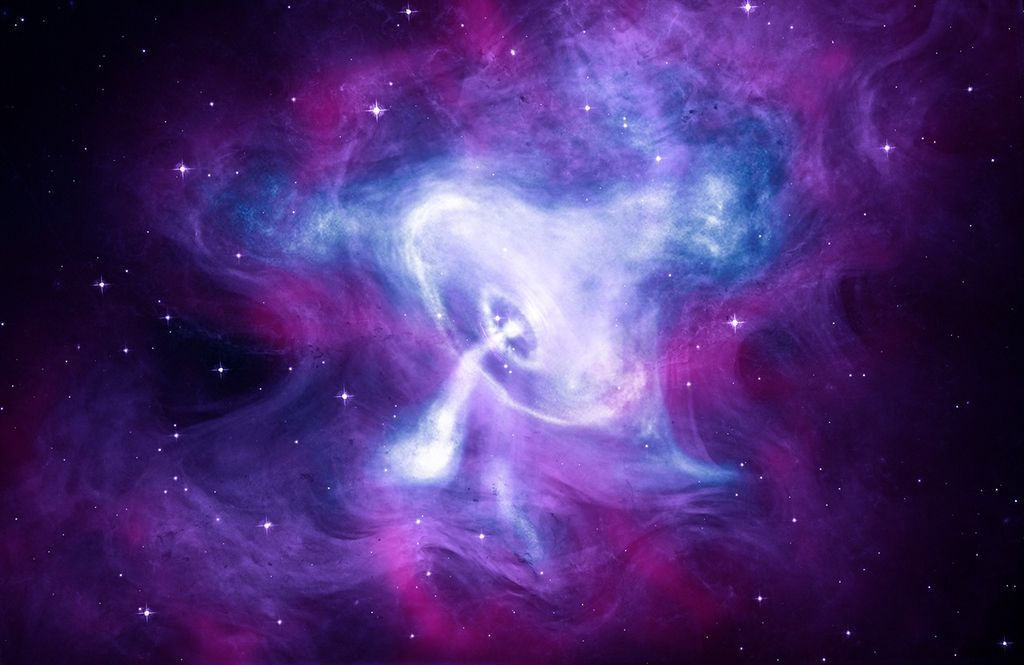
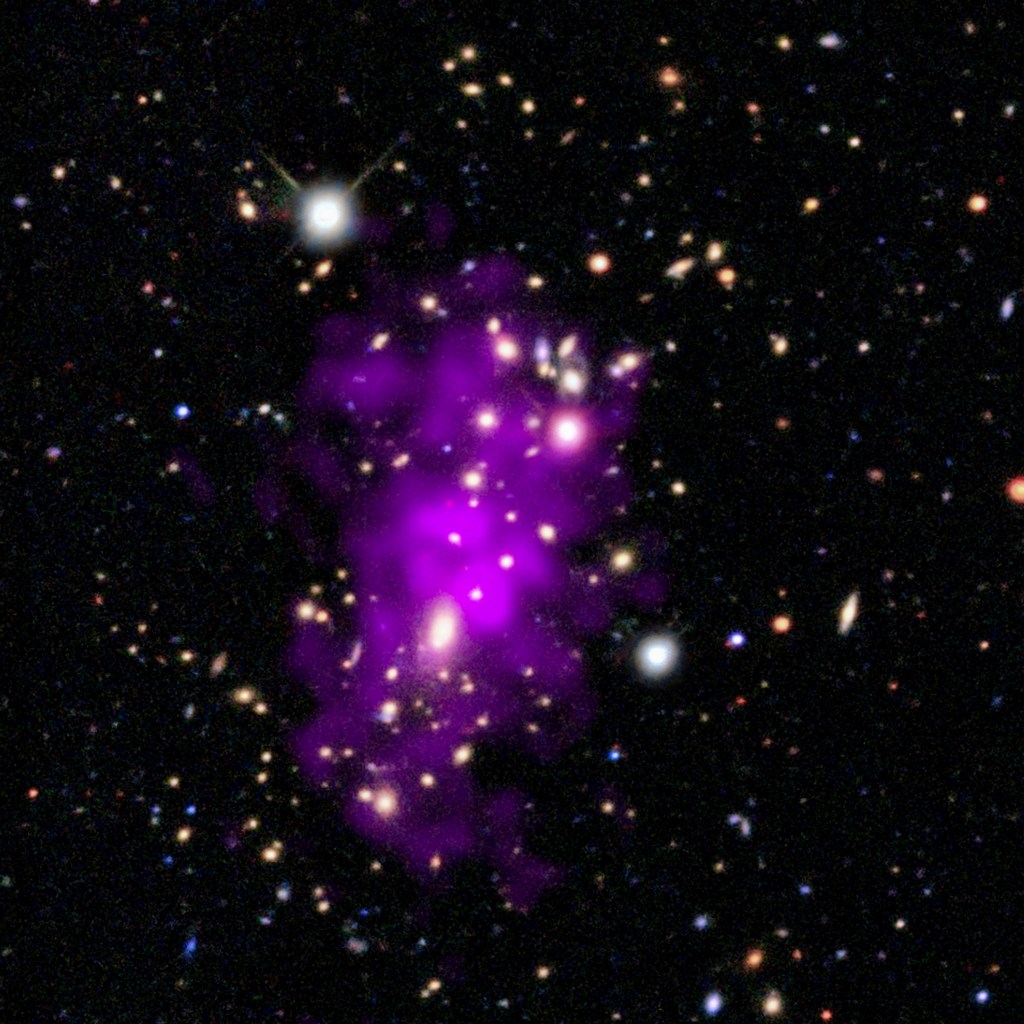
Look at almost any Webb image and you will see its characteristic diffraction pattern: Eight spikes of light—six long and two short—radiating from bright objects like stars, reflective moons, and the centers of active galaxies. Now you can enjoy this pattern anywhere. Just download, print, and cut to make a stencil for pumpkin carvings, paper lanterns, cake decorations, chalk drawings, wall trim, and more.
Check out this infographic to find out more about Webb’s diffraction spikes and how they form.
Pumpkin Carving Materials and Instructions
(Difficult Level: 2 out of 3)
Materials: pumpkin, spoon, scissors, tape, push-pin or pumpkin poker, carving tool, tea light
- Carefully cut a hole in the top of the pumpkin for the lid. Make sure to angle your blade inward to create a ledge for the lid.
- Scoop out the seeds and strings. Scrape the flesh from the inside of the pumpkin until it is 1 to 1½ inches thick where you would like to carve. Scrape to smooth the interior bottom to keep a light level later.
- Trim excess paper, leaving a ½-inch border around the pattern. Fold or cut along crease lines as necessary to fit the shape of the pumpkin, and tape in place. Make sure the pattern is smooth on the surface.
- Poke holes through the pattern along the dotted lines using a push-pin or pumpkin poker. Remove the paper once fully transferred.
- Saw dot-to-dot, perpendicular to the surface of the pumpkin, starting from the center of the pattern outward. Be careful not to apply too much pressure or the pumpkin could break. You may need to support partially-cut pieces in place while you are cutting. Push the cut pieces out gently from the inside.
- Place light inside and put the lid back on.
Try Other Stencils
Share
Details
Laura Betz
NASA’s Goddard Space Flight Center
Greenbelt, Maryland
laura.e.betz@nasa.gov
NASA, ESA, CSA, STScI
Leah Hustak (STScI)